IT Public Docs-Booklet
- Agent Password Reset/Unlock Procedure - FOR SLA & IT
- Five9 Icon missing - For Agents
- No sound from customer in Five9 -For Agents
- Unable to Install Five9 - For Agents
- Compass Logins not working - For Agents
- 500 Compass Error- For Agents
- D5 Screen Recording Issue
- Chrome Sync Guide
- Connecting to new FortiClient VPN
- Onedrive Setup and Bookmark backup/restoring
Agent Password Reset/Unlock Procedure - FOR SLA & IT
- Confirm Agents Identity using DUO Push.
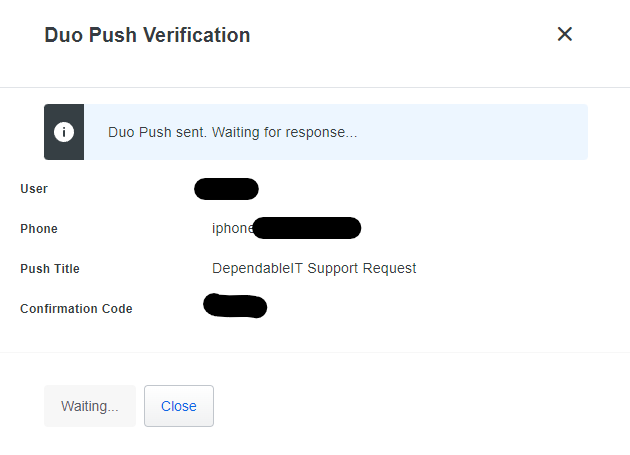
- Here's how to send a Duo Push :

- Click Send Duo Push

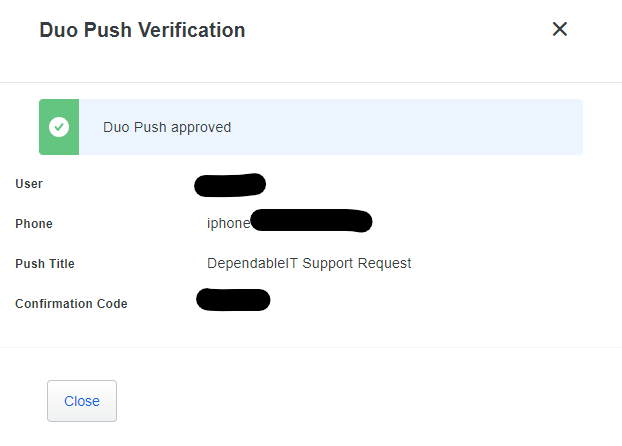
- Once Agents hits approve on there device similar to vpn signin you will see this.

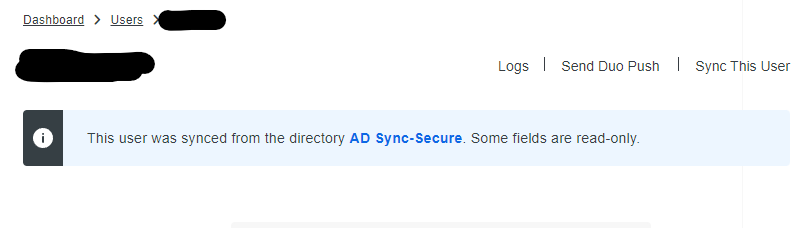
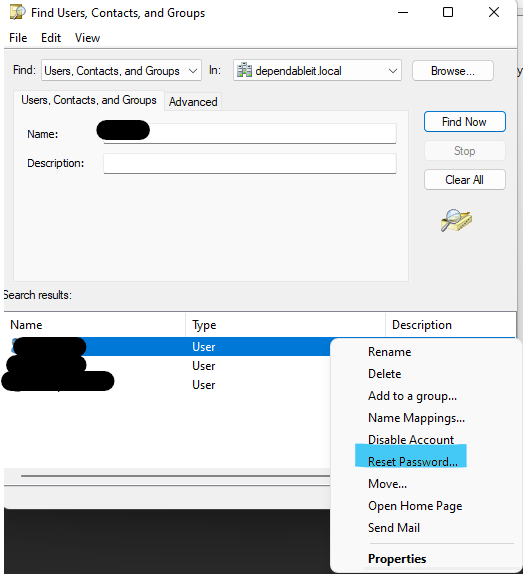
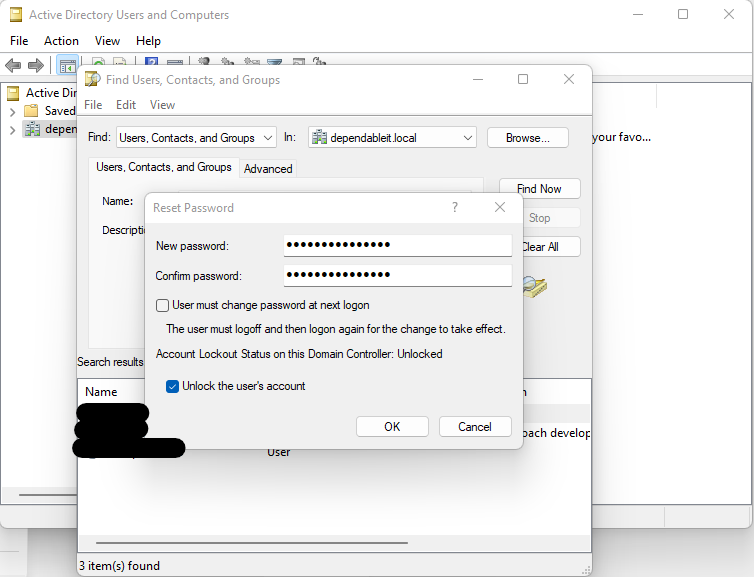
- Now you can proceed with resetting the password in AD.

- Password reset should follow these rules have to be
- Min Length 14 characters.
- One Uppercase and one Lowercase
- At least 4 Numbers.
- one Special character "!@#$%^&*"

- If for some reasons agents are unable to verify there identity, verify there address and employee ID, before proceeding to reset the password.
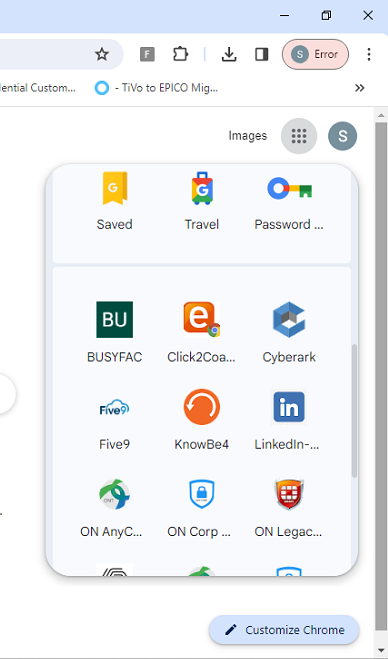
Five9 Icon missing - For Agents
1. Five9 is missing from waffle
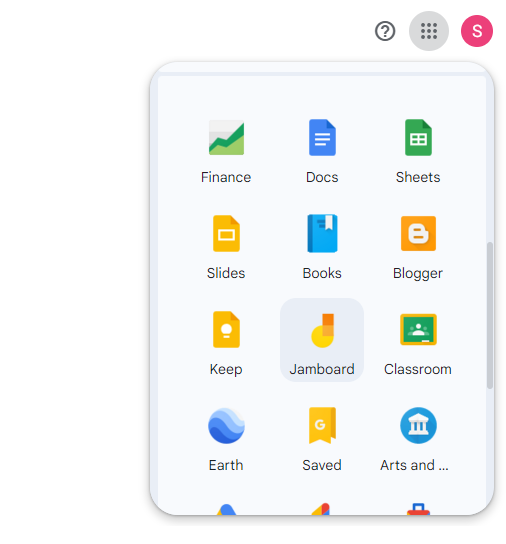
2. Use this link to got to Dashboard page where Five9 is always available if cogeco account is logged in : https://workspace.google.com/dashboard

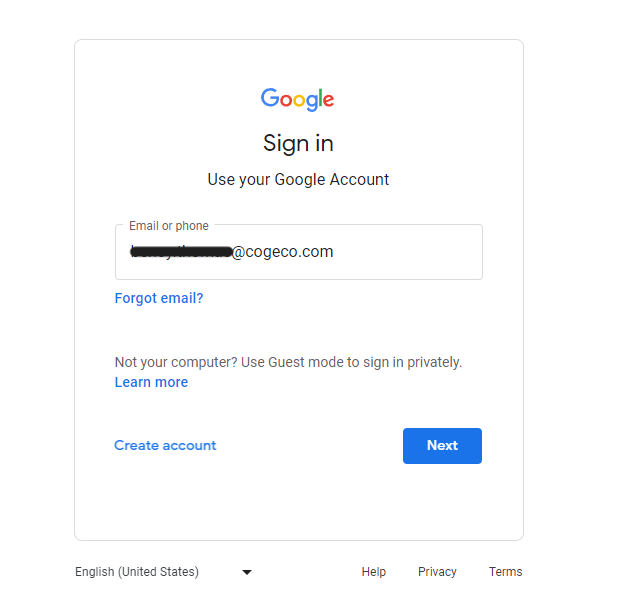
3. If five9 is still not available here you should be automatically redirected to login to your Cogeco account.
-
use firstname.lastname@cogeco.com
-
click next > put in your password > click next > enter the 2FA code.
-
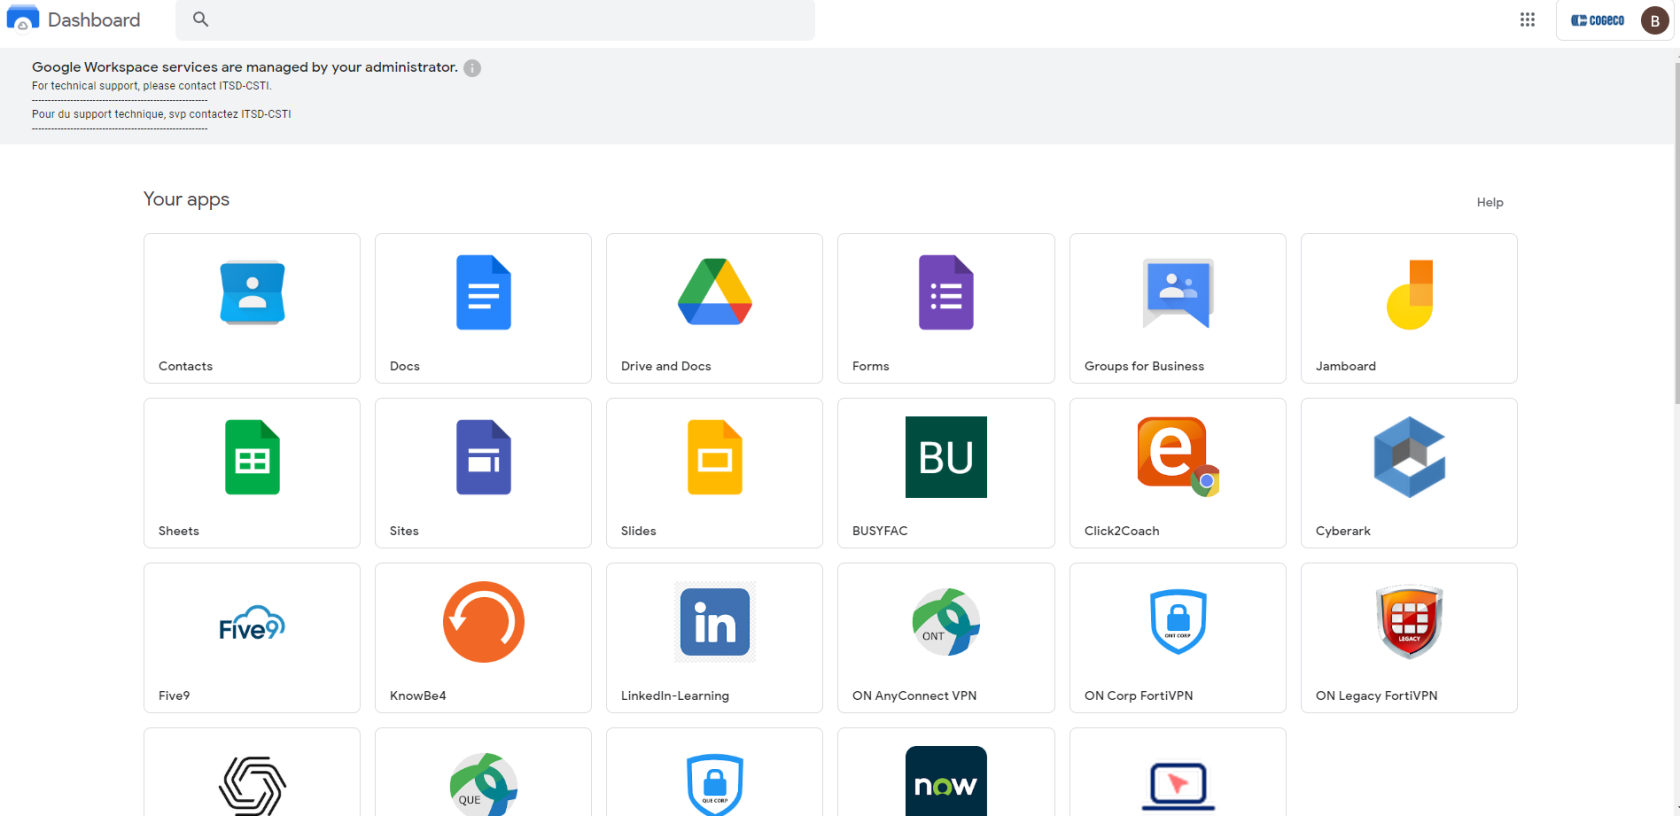
you will be directed back to the dashboard page where all the cogeco apps are available including Five9.
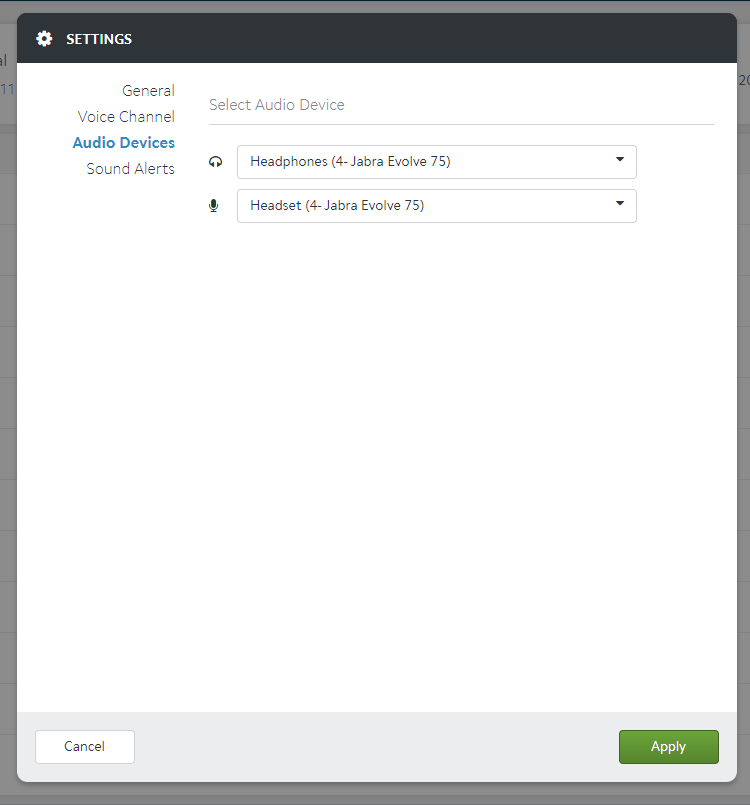
No sound from customer in Five9 -For Agents
Check configuration is correct when going in Five9
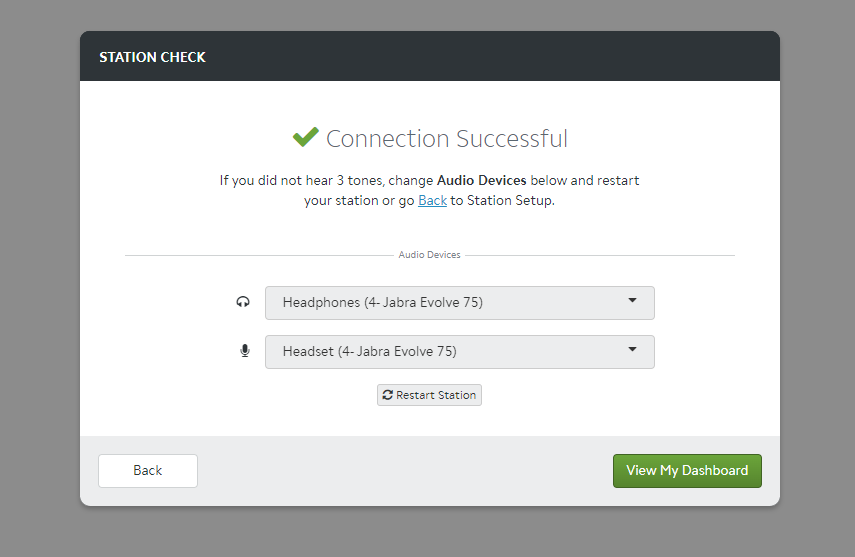
to access the same setting when you are on the Dashboard of five9
top right corner *click on (agent name) > Settings > Audio Devices. Make sure your Headset is set for both.
if configuration is correct
Log-out of Five9 and Log-in again.
Test Echo calling and confirm that audio is coming through. If Still not resolved CALL IT.
Unable to Install Five9 - For Agents
Five9 asking for install and unable to install it.
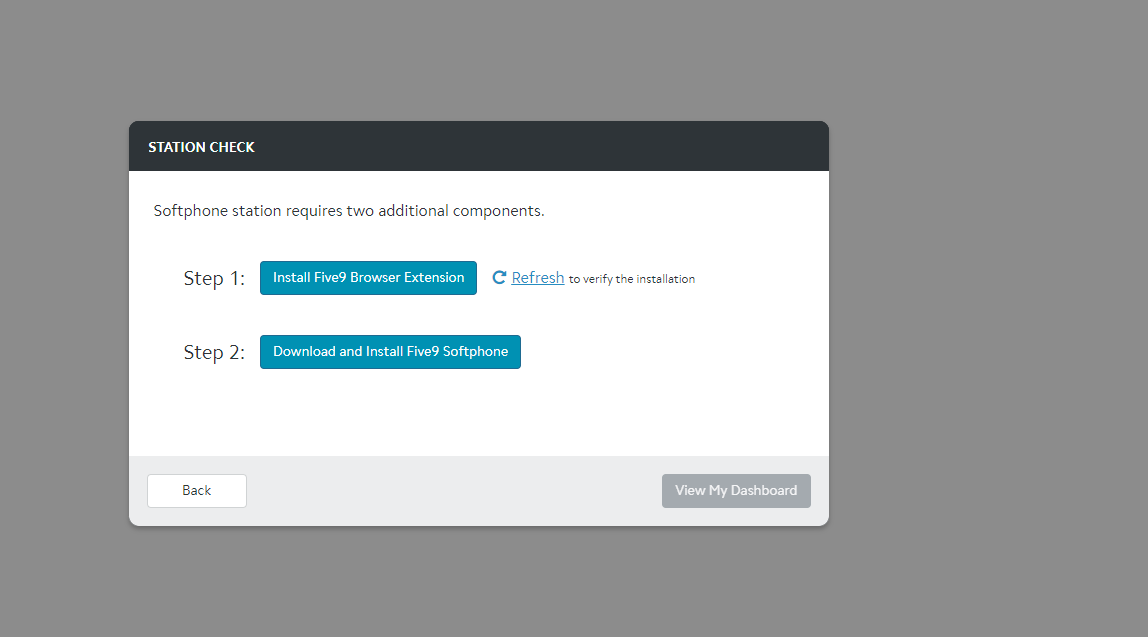
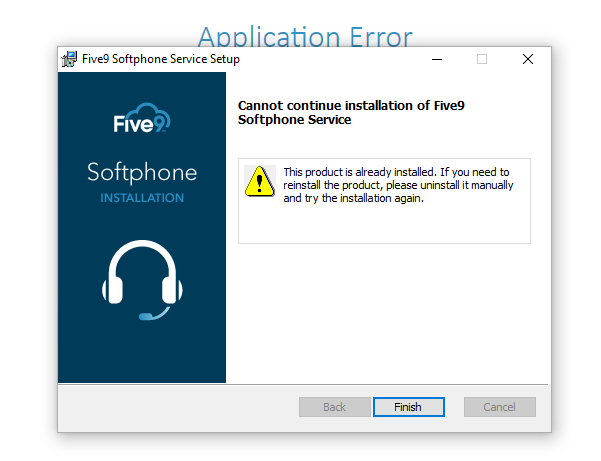
Follow these steps to fix the issue.
-
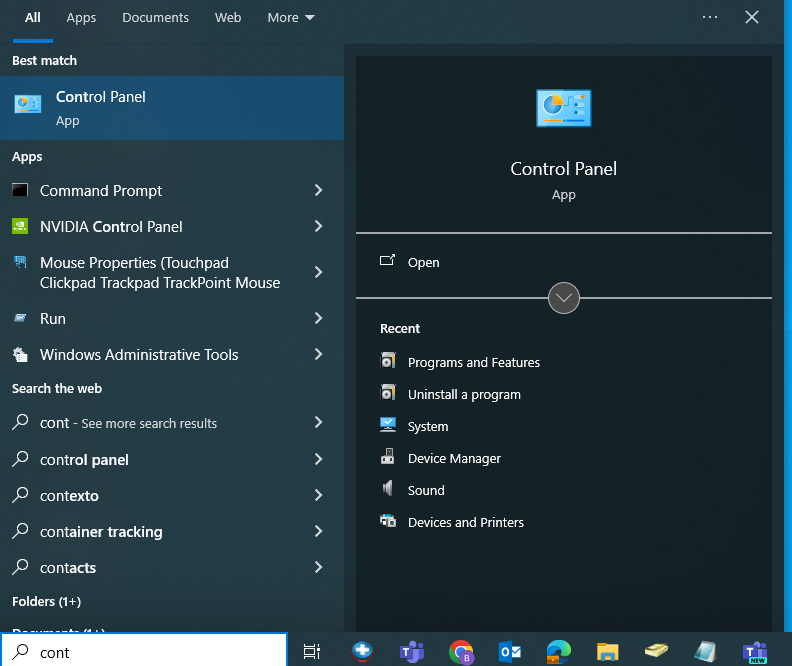
open control panel

-
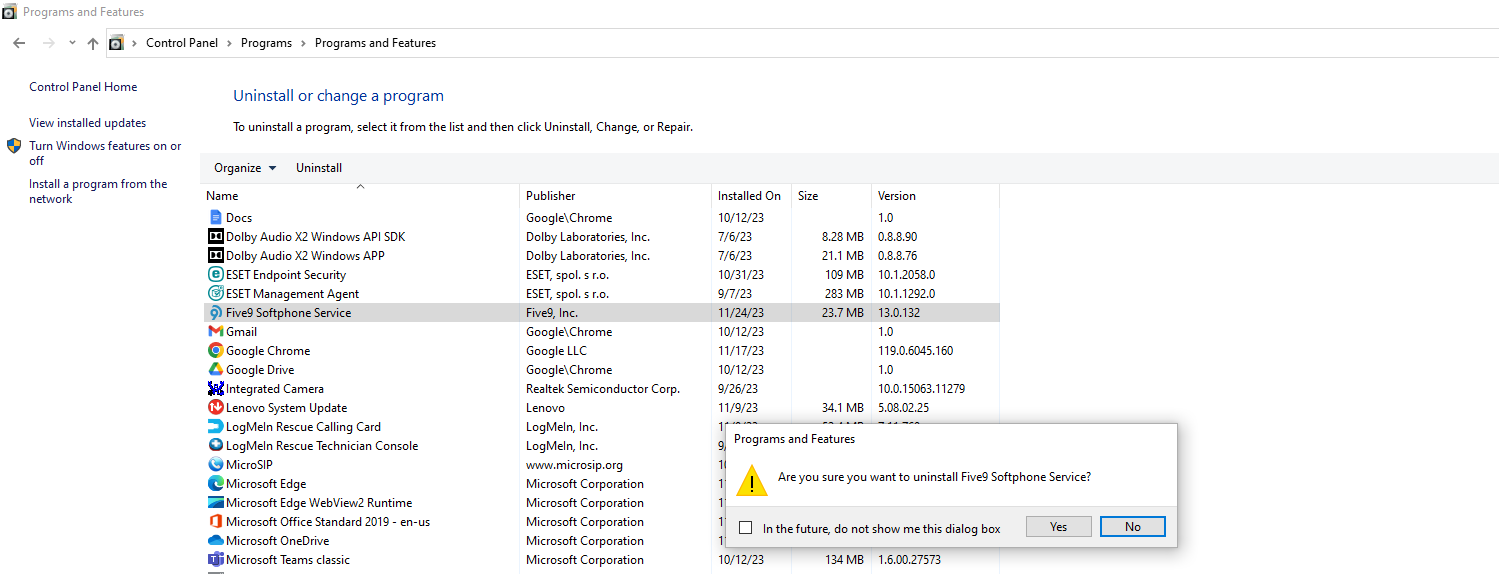
Navigate to program and features and uninstall FIve9 softphone App

-
Right Click > hit Yes.
-
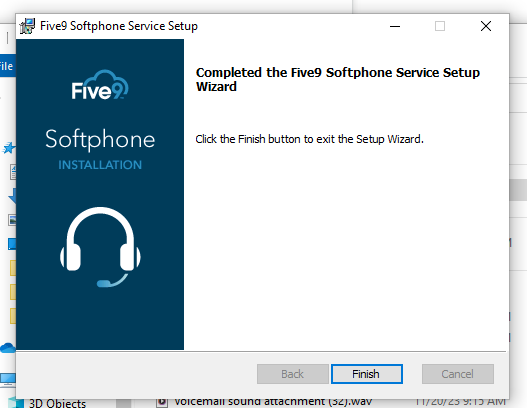
Once the uninstall is complete head back to
-
Go back to the Five9 page.

-
Click Download Five9 Softphone and double click the downloaded file to install it again.

-
Once finished, refresh the Five9 page and you should be good to Go.

Compass Logins not working - For Agents
Login Authentication error may occur if Cogeco password has expired or incorrect.


Use link : https://passport.cogeco.com/sspr/private/login

-
On self-service login page, login using you old password > the click Change password to set a new one.
-
Incase old password doesn't work click Forgotten Password > then answer few security question to access your account and then process to setup a new password.
500 Compass Error- For Agents
One of the common errors the regular compass user sees is "HTTP Error 500"
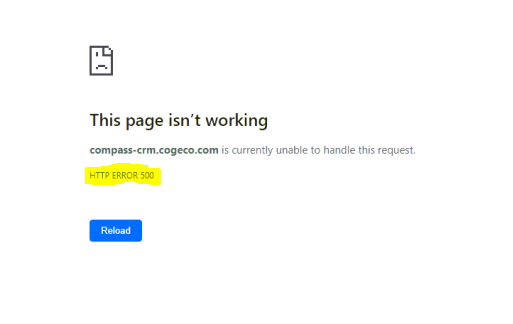
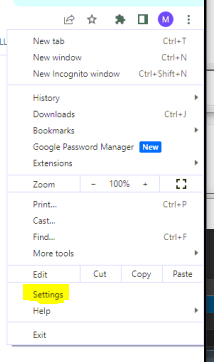
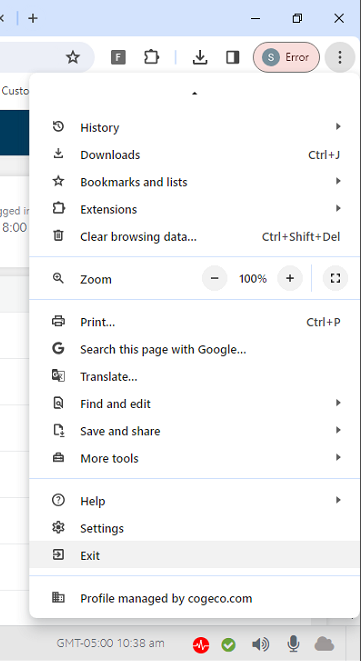
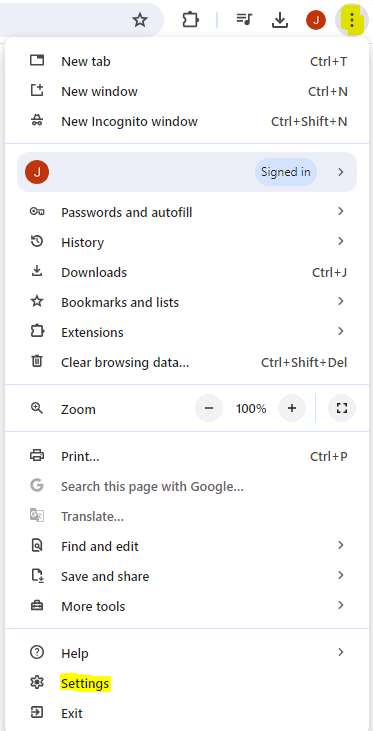
1. Here's how you fix this, Click on 3 dots top right of your chrome window. Then settings.
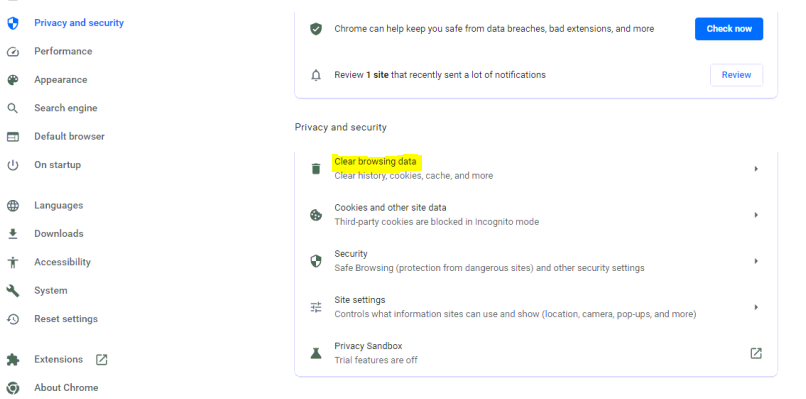
2. Look for Privacy and Security and then click "Clear Browsing data".
3. In the Basic tab you can need to check "Cookies and other size data" and Time range should be "All Time" other two options are options. Then hit Clear Data.
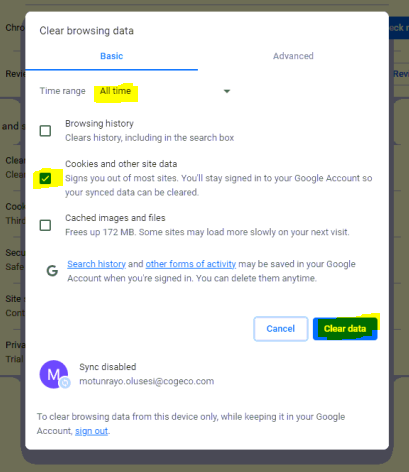
4. Once done the delete box will close itself. Close chrome completely and reopen it. Issue should be resolved, if not Call IT.
D5 Screen Recording Issue
Checklist to ensure D5 Screen capture works.
-
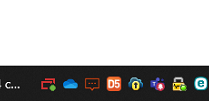
 D5 Icon at bottom right of the screen.
-
 Click2Coach in waffle right by Five9 icon
-
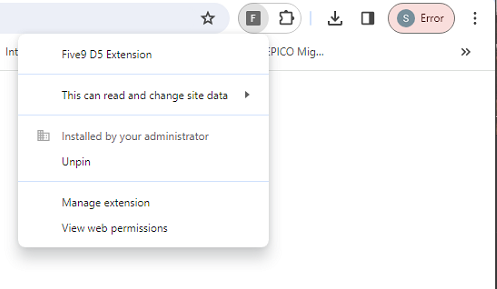
 Five9 D5 Extension in the Browser Sometimes its visible by clicking on
-

-
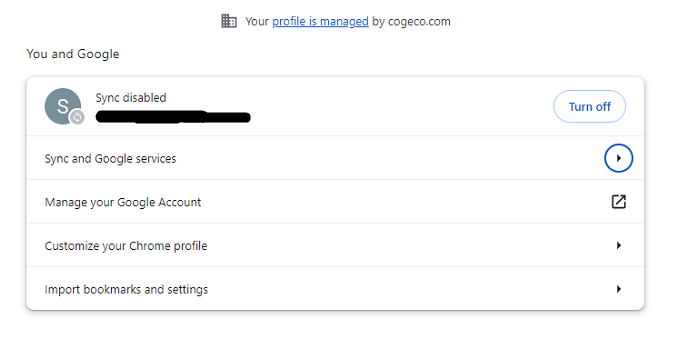
Ignore Error on Top, Go to settings and check if Sync is ON (it should be -> Sync Disabled -> Turn off)
-

Chrome Sync Guide
1. Go to Settings (three dots/kebab menu)
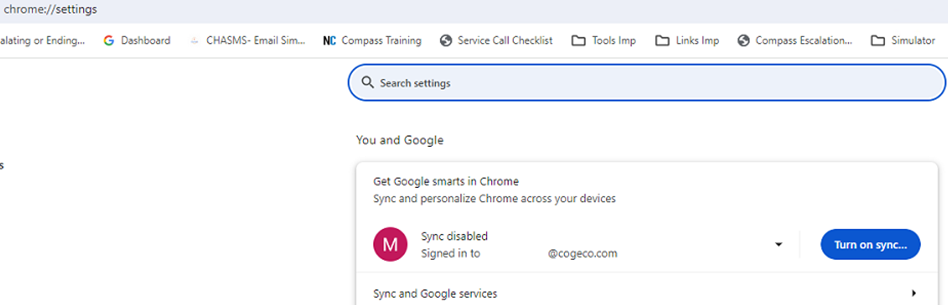
2a. If Sync is not setup it should show as below, with the option to Turn on sync…, click that option.
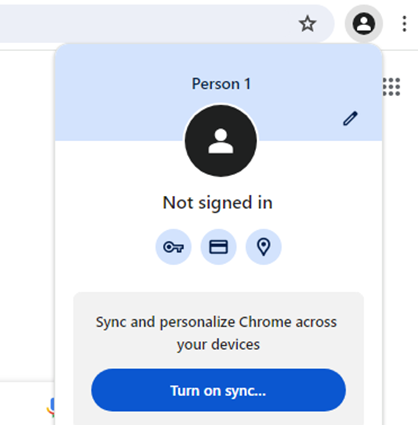
2b. If not signed in, it may also appear as below
you may need to sign into your @cogeco.com address after clicking “Turn on sync…”.
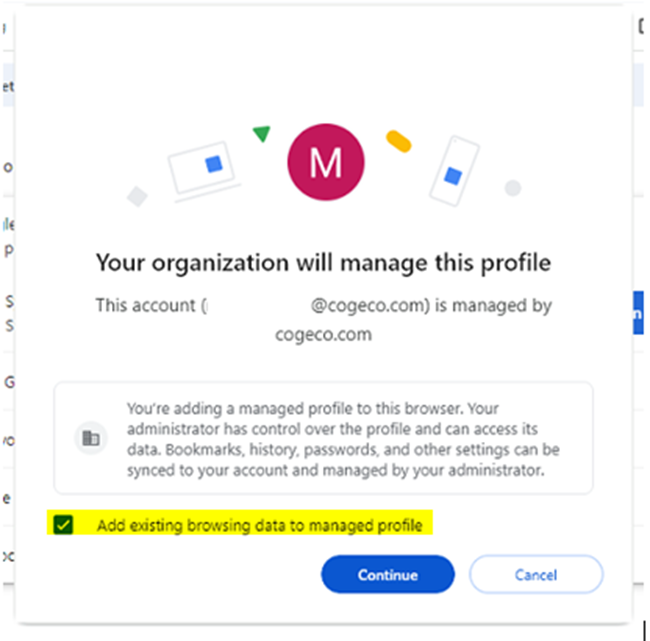
3. Ensure you click “Add existing browsing data…” to not lose your bookmarks.
Then click Continue.
4. Click Continue.
5. And you’re done.
You can confirm it’s complete once the “Turn on sync…” button changes to “Turn off”.
And the Five D5 extension should now appear.

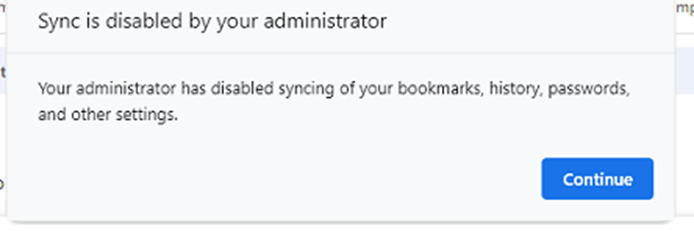
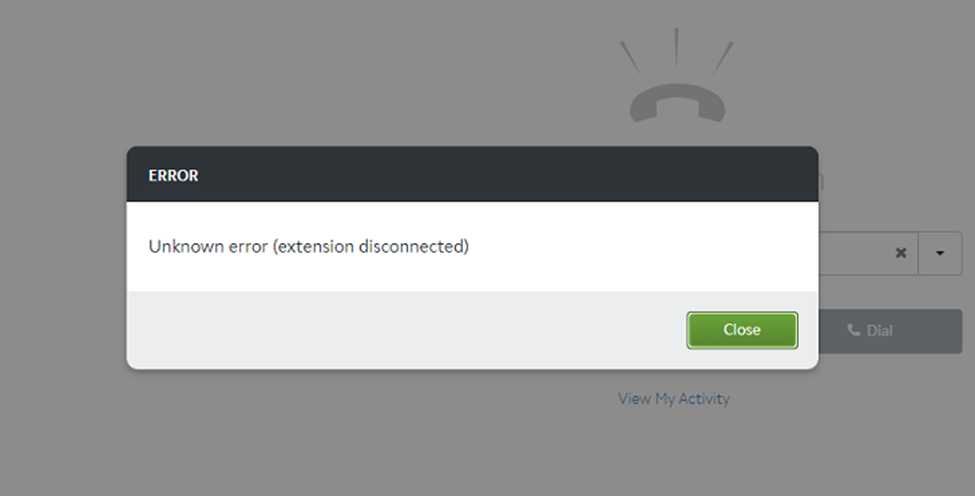
6. The Five9 extension will likely have gotten re-installed, presenting the error below.
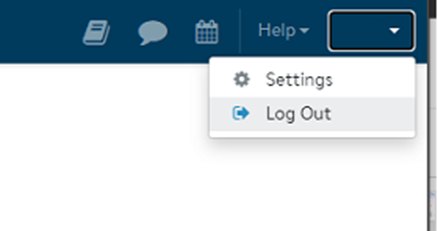
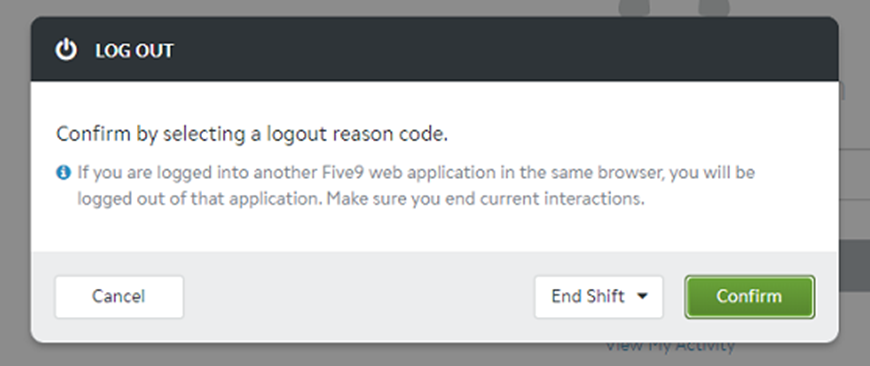
Log out of Five9, Confirm, then close the tab and open Five9 again.
Connecting to new FortiClient VPN
-
Look for a Blue Shield with ✔️ on bottom right of your pc.

-
Double clicking on it will bring you to this FortiClient App. Most of our Team members should have this app auto installed by now. Ff you don't have it on your pc, contact me or IT directly via Teams.

-
Connection to "Centrally Managed by CMS" means FortiClient is configured correctly and ready to use. You can now click on and go to "Remote Access" Tab. Here's how it looks like.

-
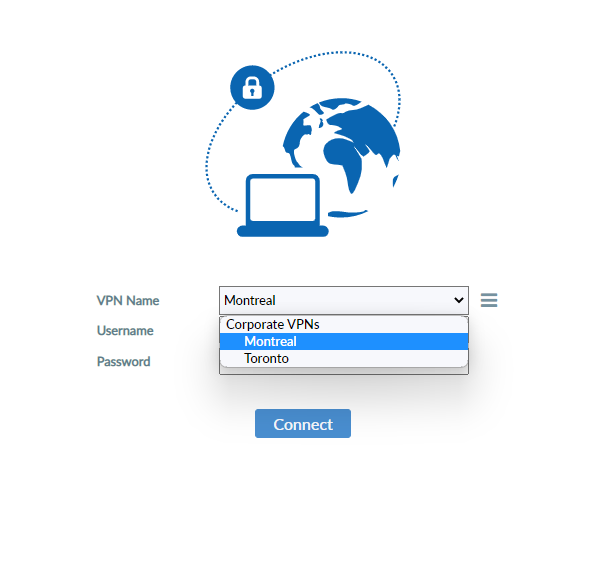
VPN sites are preconfigured and auto updated, no configuration from your end is required. You will have the option to connect to 2 Sites Montreal and Toronto

-
You will use the same password that you use for the old VPN and hit connect.

Hit Connect and approve Duo authentication on your 2FA Device. -

-
Once approved on Duo this is how your FortiClient will look like.

-
You can test your Connection to both locations (Montreal/Toronto), But Cogeco sites won't work yet.
Onedrive Setup and Bookmark backup/restoring
Onedrive Setup - for both old and new PC.
1. Click the start menu at bottom left, or press the Windows key on your keyboard.
2. Type "Onedrive" until it appears.
3. Click on Onedrive App.
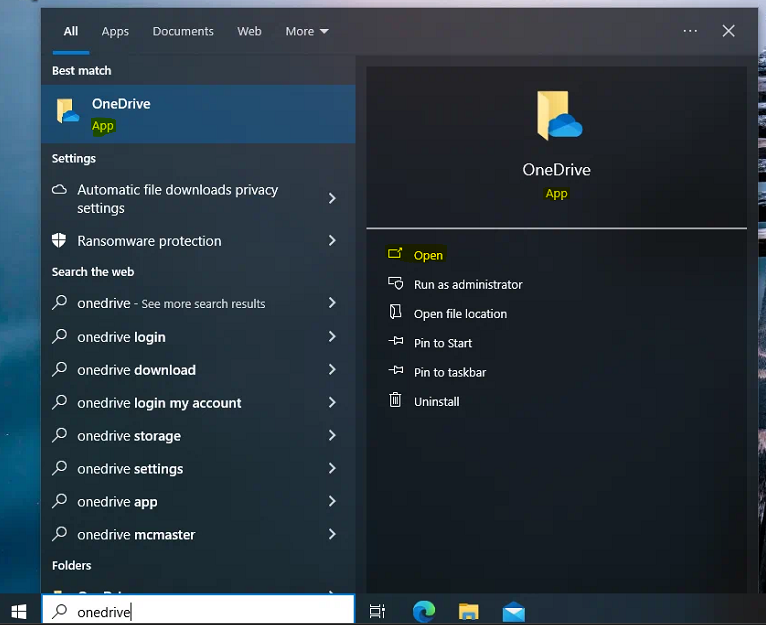
Note: If Onedrive only appears as search results instead of App, you don't have Onedrive installed and need to contact IT.
4. Login with your @dependableit.com email address and password.

Note: If you get this prompt (may not appear), click Work or school.

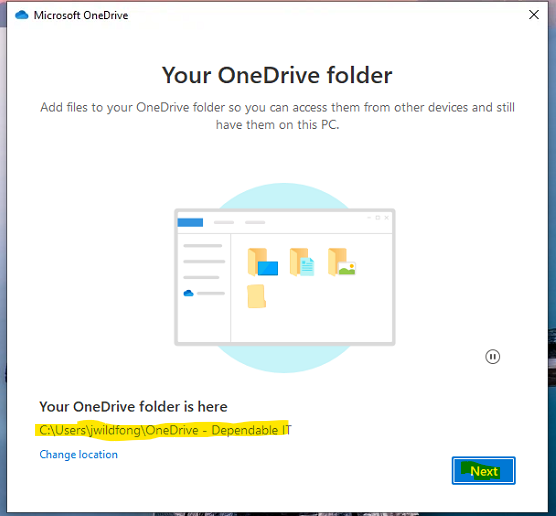
5. Now it will show you your Onedrive folder, note the location, then hit Next.
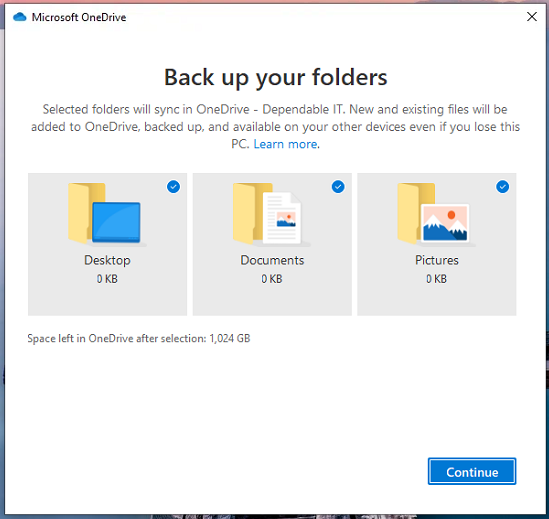
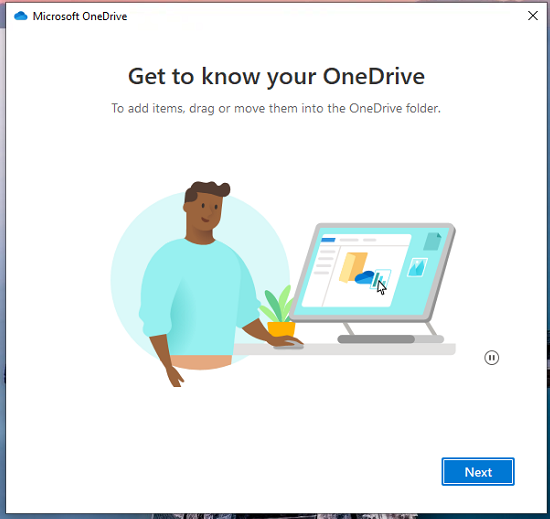
6. Then this should appear, leave all options checked to have those folders synced to Onedrive, then hit Continue.
7. (Optional) Go through Onedrive tutorial, or just close the window as setup is done.
8. You're done!
Note that it may take some time to sync all your files, depending on how many.
How to backup your bookmarks in Chrome.
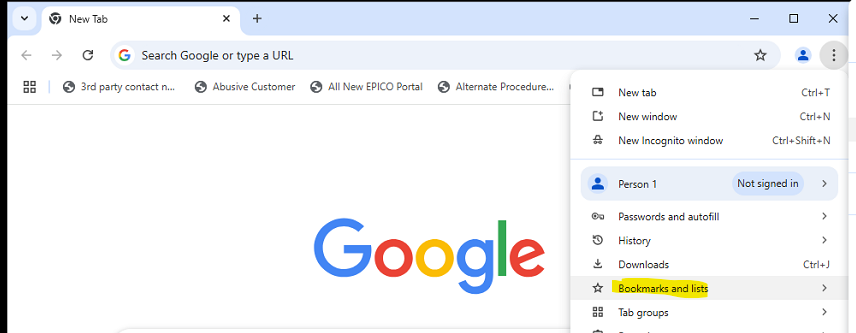
1. At the top right of Chrome, click the 3 dots (kebab menu).
2. Then scroll over Bookmarks and lists.
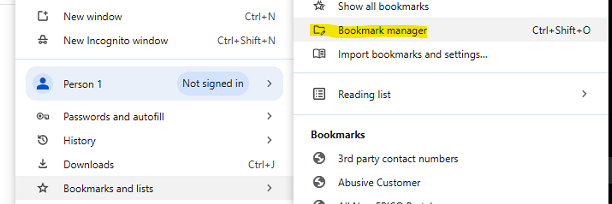
3. Click Bookmark manager
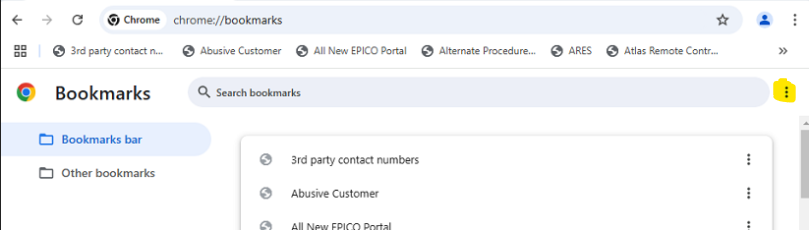
4. In bookmark Manager, click the 3 dots to the right of Search bookmarks.
5. Then click Export bookmarks.

6. Click "Onedrive - Dependable IT"
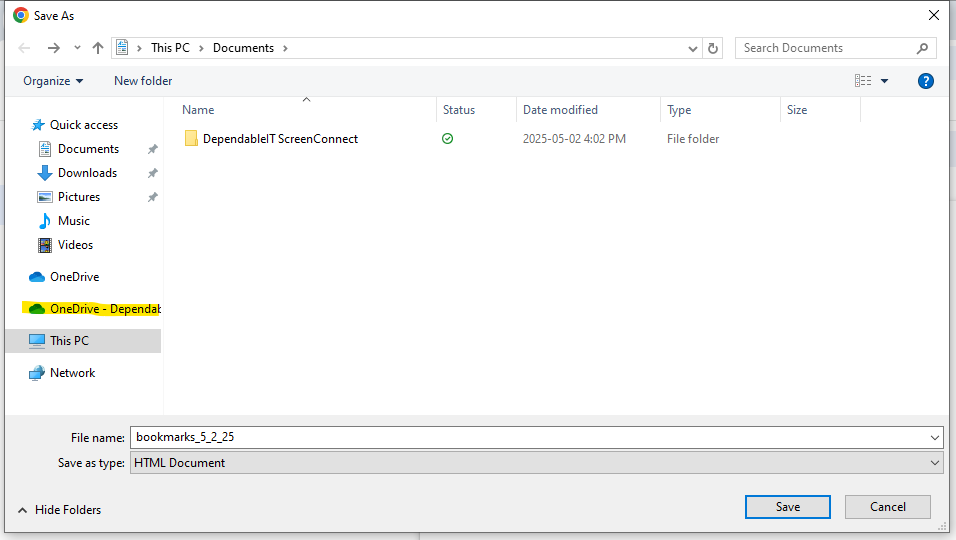
7. Take note of the File name, this will be the file you want to retrieve later, usually it's bookmarks_(date).
Then click Save.
And you're done!
You now have your bookmarks backed up to Onedrive, making it available for Windows 11, or even a new work PC.
Getting your bookmarks back.
0. Make sure you're signed into Onedrive on the new PC, see first/topmost section of this guide.
1. Same as before, click 3 dots Icon.
2. Click Bookmarks and lists
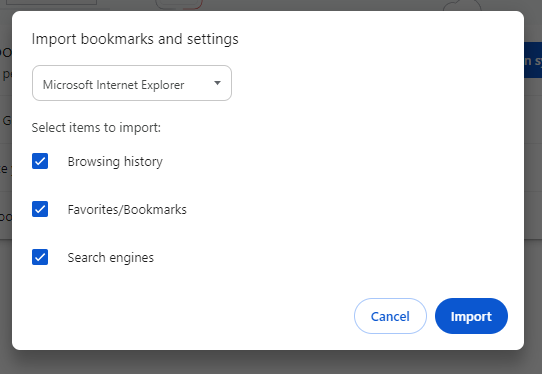
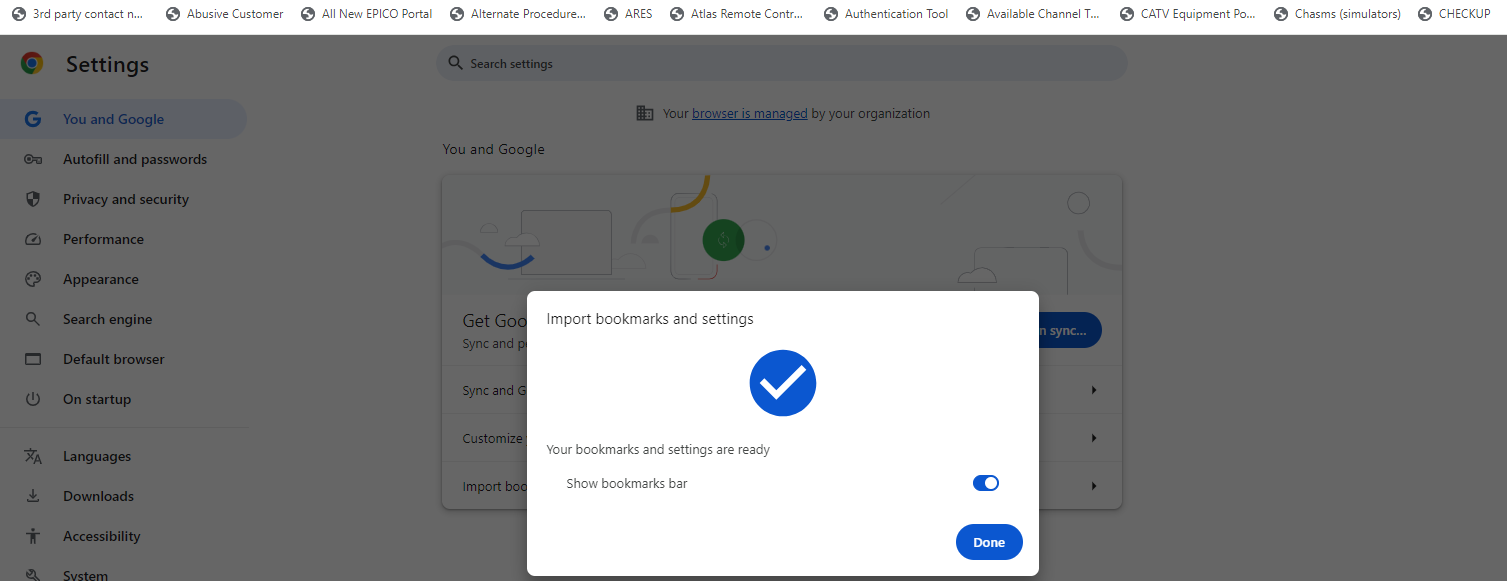
3. Except this time, click Import bookmarks and settings...

4. Click Microsoft Internet Explorer to change it to "Bookmarks HTML File"
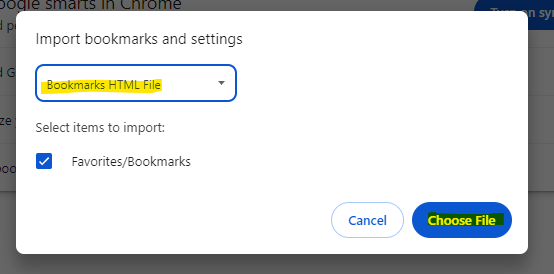
5. Then click Choose File
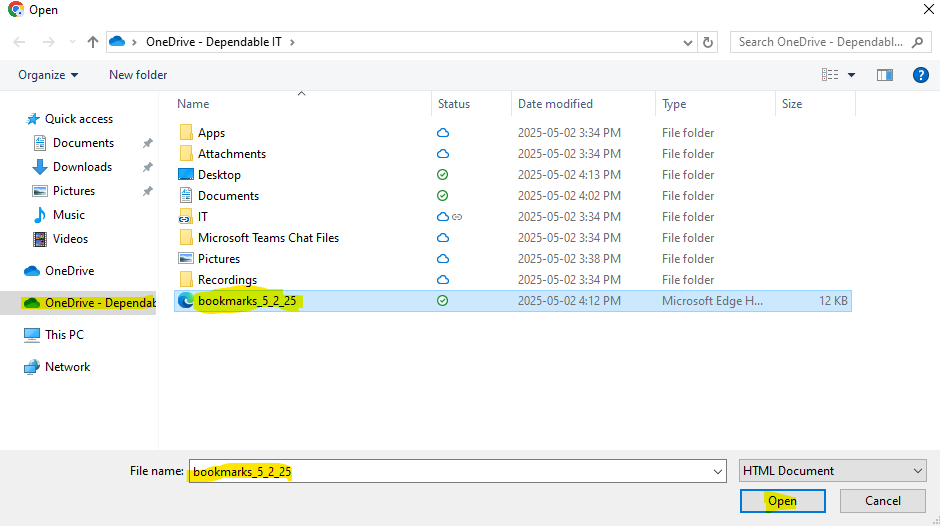
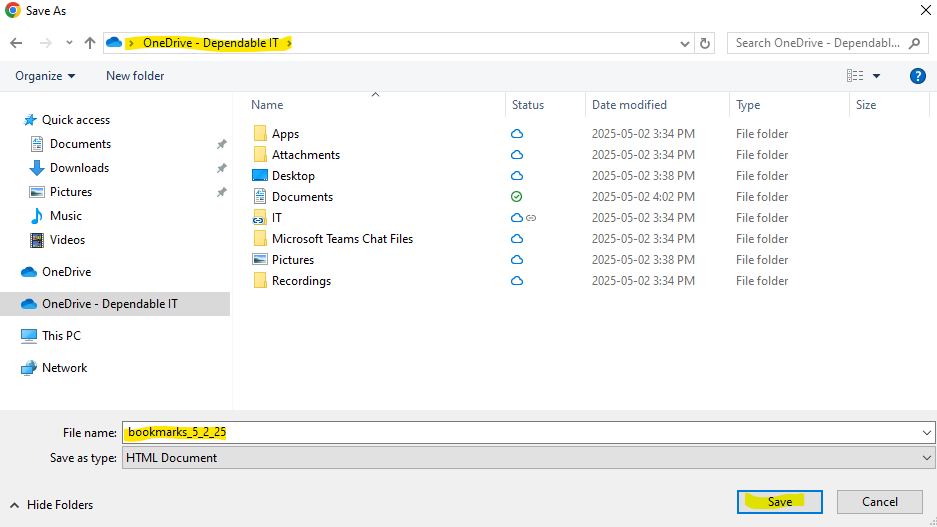
6. If you're signed into OneDrive, the option for OneDrive - Dependable IT should appear on the left panel, click that.
7. Click the bookmarks file you either noted or remember from when you backed it up.
8. Click Open.
And you're done!